Vermont Rapid Prototyping

Providing rapid prototyping services to inventors and businesses.

More Sculpture Prints

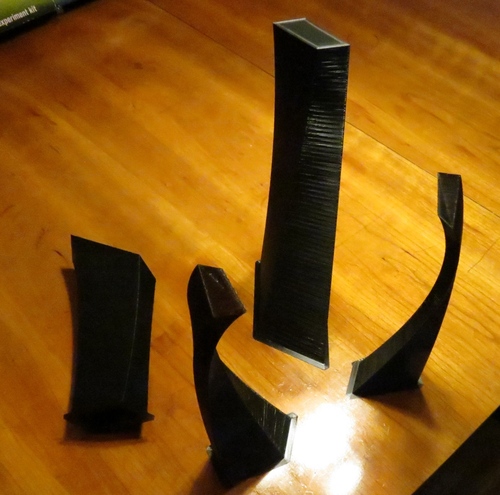
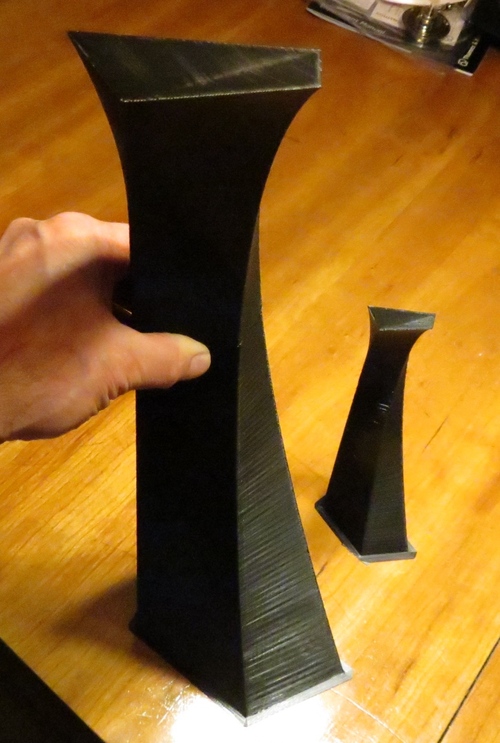
I have been printing more sculptures for/with Chris Curtis.  He prepares a 3D model of a sculpture as an STL file, emails it to me, I print it, and then he uses a variety of manual methods (sanding, metallic tape, electroplating, and patinas) to create a small (12" - 24") model of his proposed large (9’) sculpture.  When he is finished, the model appears to have been made out of whatever material he intends to use for the final sculpture (copper, stainless steel, etc).  He uses the model as part of his presentation when making proposals to clients.  It also helps him visualize how he would manufacture the sculpture when the time comes. 
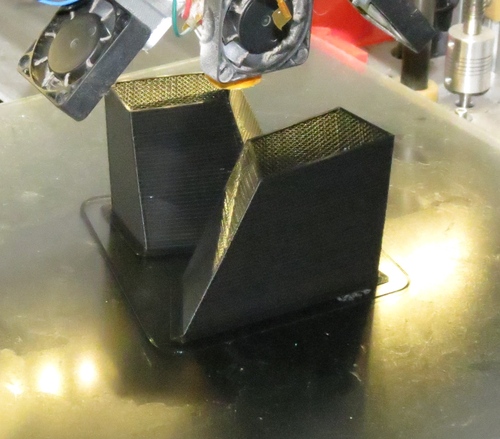
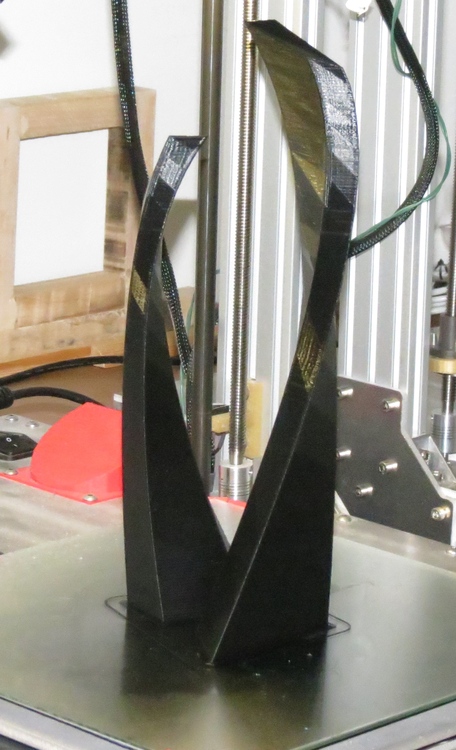
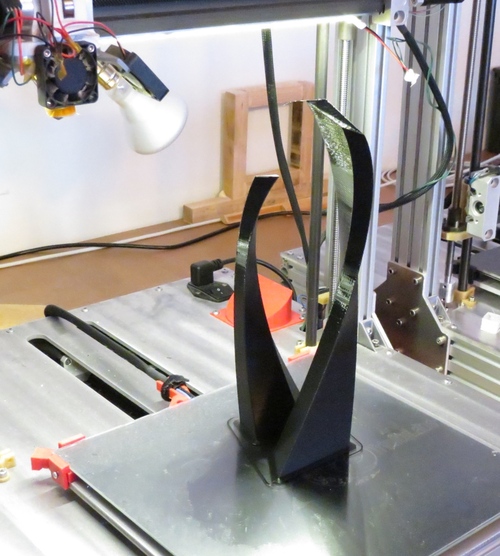
We started out printing this sculpture 12" tall and with 40% infill.  This shows the towers during the printing process:  
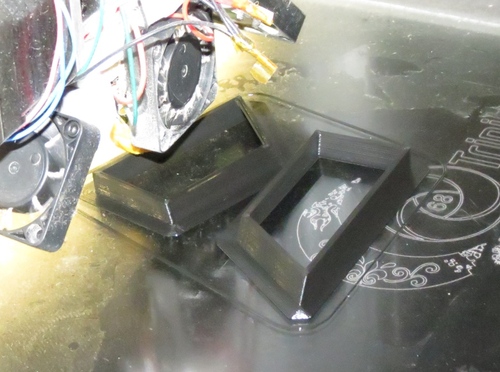
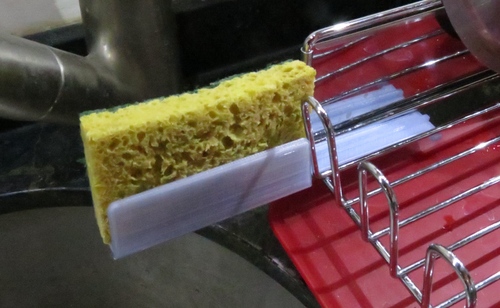
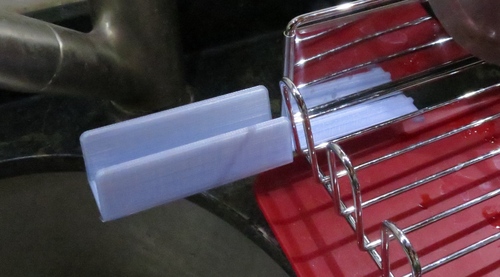
  This shows the finished towers.  Notice that the underlying triangular “plates” are clearly visible:  
  Chris wanted the prints to not only be dimensionally correct, but also to feel heavy in the hand.  We decided to try to print them hollow (with no infill, but with 5 perimeter layers).  I was concerned that the tops of the models would be defective, because of the large gap over which the filament would have to span, so I increased the top to 8 layers; the bottom was zero layers, as you can see below.  We also increased the number of triangles so that the exterior became less faceted.  
  The final hollow prints looked identical to the infilled prints, but took about half the time, about half the materials, and were very light.  Chris can now fill them up with whatever material he choose in order to allow them to end up with the appropriate heft. The surfaces now show no faceting.  
  I was curious about printing the shorter tower doubled in size, and printed in two parts. Here you can see the original sized hollow prints at the bottom, with a two part print of the smaller tower behind and to the left.  The upper half (on the left) falls over if just placed on the table in the normal orientation, while the completed towers stand on their own.  
  Here are the two versions of the smaller tower, the original on the right (at 12") and the double height one on the left (held together  so that the top does not fall off)  

Sponge Holder

We purchased a new drying rack, on impulse, and found that there no longer was a convenient place to store our sponge.  This is what I came up with.  The red circles show the locations of semi-circular cutouts to mate with the metal rods.